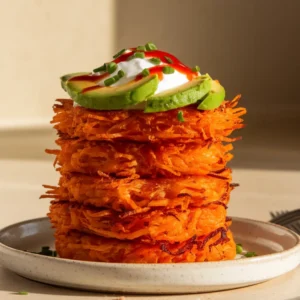
There’s something magical about Sweet Potato Hash Browns that turn a regular Tuesday morning into something a little more special. Maybe it’s the way they crisp up golden and perfect in the pan, or how that first bite gives you the most satisfying crunch followed by a soft, slightly sweet center. Whatever it is, these beauties have completely changed my breakfast game, and they’re about to change yours too.
Here’s what makes this recipe so wonderful: it’s genuinely simple. No fancy equipment, no ingredient you’ll need to hunt down at three different grocery stores. Just sweet potatoes, a few pantry staples, and about 25 minutes of your time. The secret? It’s all about getting the moisture out (sounds boring, but trust me, it’s the game-changer) and letting them cook undisturbed so that gorgeous crust can develop.
*Before You Start: You’ll find more explanation here than a basic recipe. That’s intentional, the aim is to educate, not just instruct.
What Makes These Sweet Potato Hash Browns So Damn Good
❃ So quick and easy: 25 minutes from start to finish, and most of that is just letting them cook
❃ Only 5 main ingredients: nothing fancy, just real food you probably already have
❃ Perfect for meal prep: make a big batch, freeze them, and reheat whenever you need a quick breakfast
❃ Naturally healthy: gluten-free, packed with vitamins, and way more nutritious than regular hash browns
❃ Kid-approved: that hint of natural sweetness makes them a hit with little ones (and picky eaters!)
❃ Incredibly versatile: serve them with eggs, load them up with toppings, or eat them straight from the pan with your favorite hot sauce
Everything That Goes Into These Golden Hash Browns
Makes 4 large hash browns (serves 2–4):
• 2 large sweet potatoes (about 1¼ pounds). Look for orange-fleshed ones like Beauregard or Jewel. They’re sweeter and hold together beautifully. No need to peel them, the skin adds great texture and nutrients!
• 2 tablespoons cornstarch. This is your secret weapon for holding everything together. Sweet potatoes don’t have as much natural starch as regular potatoes, so we need a little help here. Potato starch or arrowroot powder work just as well if that’s what you have!
• ½ teaspoon kosher salt. Plus a little extra for sprinkling at the end. If you’re using regular table salt, use just a scant ⅓ teaspoon since it’s more concentrated.
• ¼ teaspoon black pepper. Freshly ground tastes amazing, but the pre-ground stuff from your spice cabinet works perfectly fine too.
• 3–4 tablespoons neutral oil. I use vegetable or canola oil because they can handle high heat without smoking. Avoid olive oil here, it’ll smoke and make things taste bitter.
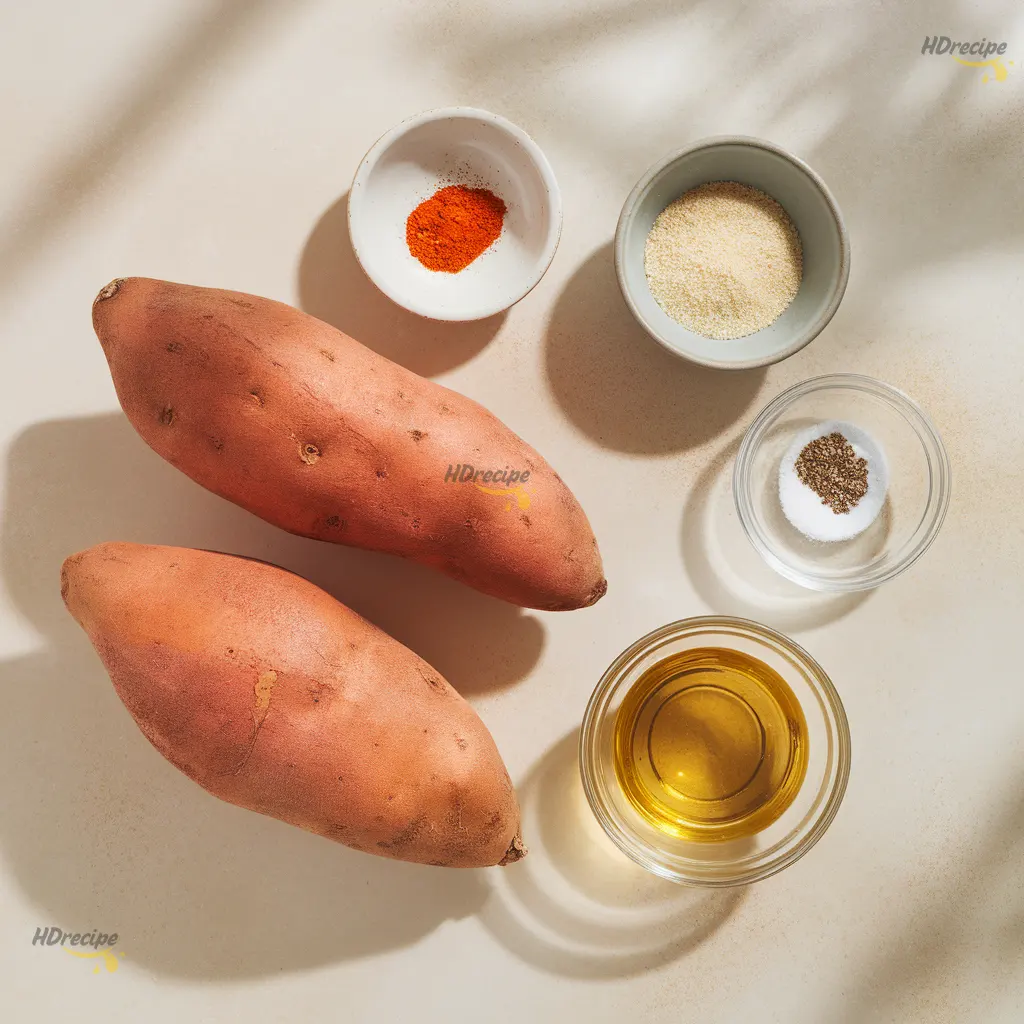
Optional add-ins: A pinch of smoked paprika or garlic powder adds lovely depth, but they’re delicious plain too!
Quick Note: Once you grate the sweet potatoes, they’ll start turning brownish pretty quickly, totally normal! If you need to prep ahead, store them in a bowl of water with a squeeze of lemon juice for up to 2 hours. Just drain and pat dry before continuing.
Let’s Make It! Step by Step, No Guesswork
1 Get your sweet potatoes ready. Give them a good scrub under running water to get rid of any dirt, but keep those skins on! They add nutrition and help everything hold together. Pat them completely dry with a towel (wet potatoes = sad, soggy hash browns). Now grab your box grater and use the large holes to shred them into nice long strands. The food processor with a grating disc works great too if you want to save your arm muscles!
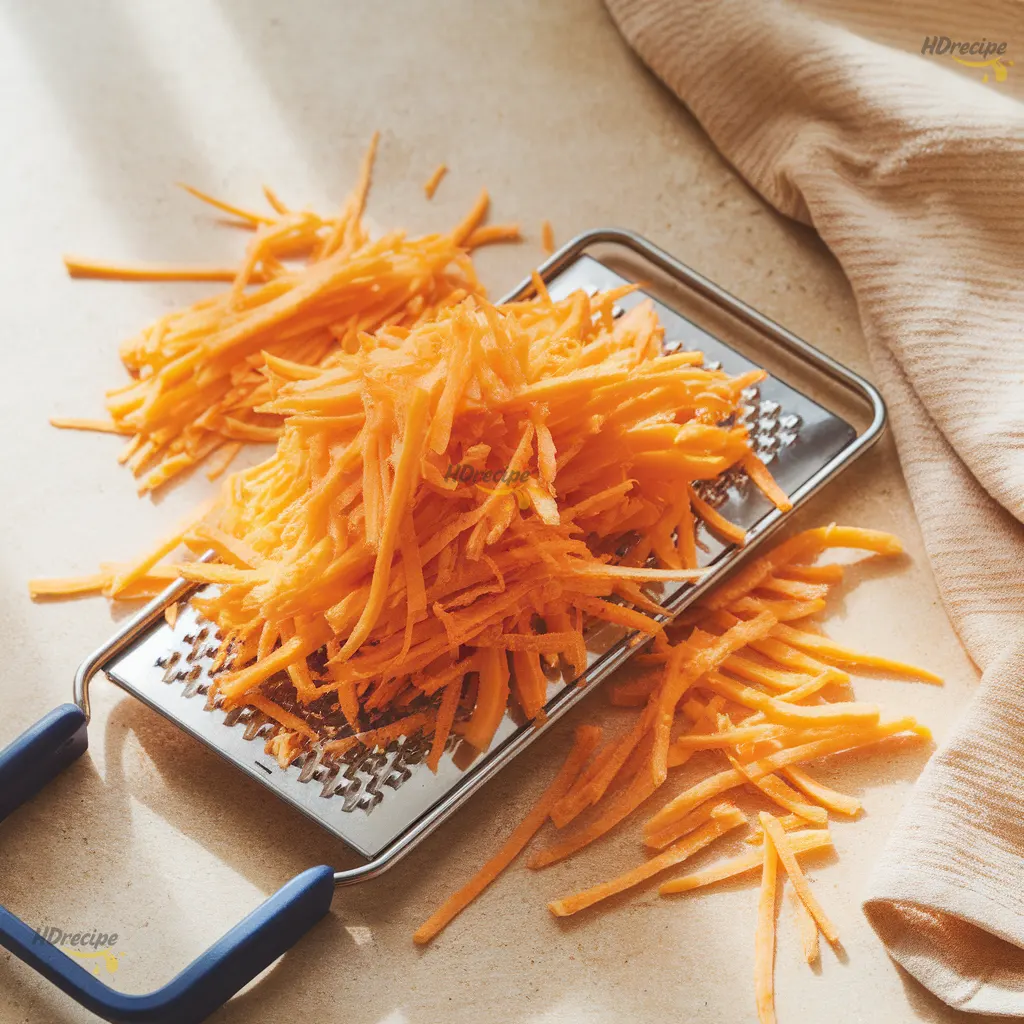
2 Here comes the most important step, squeeze out that moisture! Pile all your grated sweet potato in the center of a clean kitchen towel or a few layers of cheesecloth. Gather up the edges, twist it over your sink, and squeeze like you mean it for about 30–45 seconds. You’ll see liquid pouring out, don’t be shy! Getting about ¼ cup of liquid out is normal. This is what makes the difference between crispy, golden hash browns and sad, mushy ones. Your arms might get tired, but it’s so worth it.
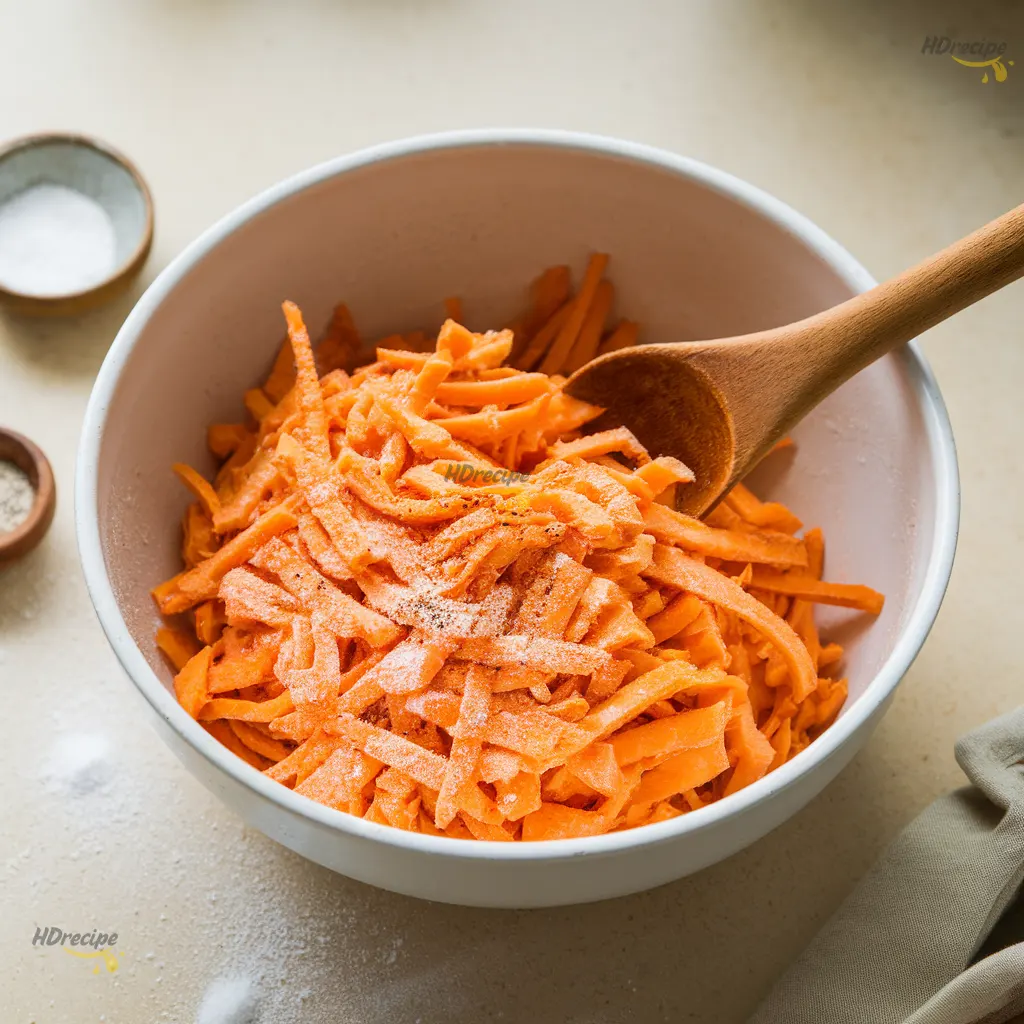
3 Mix everything together right away. Put your squeezed sweet potato in a bowl and sprinkle the cornstarch, salt, and pepper on top. Use your hands to gently toss everything together until the cornstarch disappears and everything’s evenly mixed. Don’t go crazy with the mixing or you’ll break down those nice shreds, just enough to combine.
4 Get your pan nice and hot. Place a large cast-iron or nonstick skillet over medium-high heat and let it warm up for a couple of minutes. Add 2 tablespoons of oil and swirl it around to coat the bottom. You want the oil to shimmer and move easily, but not smoke. The right temperature is everything here, too cool and they’ll soak up oil like a sponge, too hot and they’ll burn on the outside while staying raw inside.
5 Shape your hash browns with confidence. Grab about ½ cup of the sweet potato mixture and pack it firmly between your hands into a patty about 3½ to 4 inches wide and ½ inch thick. Really press it together, the tighter you pack it, the better it’ll hold when you flip it later. Gently place it in the hot oil. Make 3–4 hash browns depending on your pan size, leaving some space between each one so they cook evenly.
6 Now practice the hardest part, patience! Let those hash browns cook completely undisturbed for 5–6 minutes. No peeking, no poking, no nudging! They need this time to develop that gorgeous golden crust. You’ll know they’re ready when the edges look crispy and golden, and when you gently nudge one with your spatula, it releases easily from the pan. If it’s sticking, give it another minute.
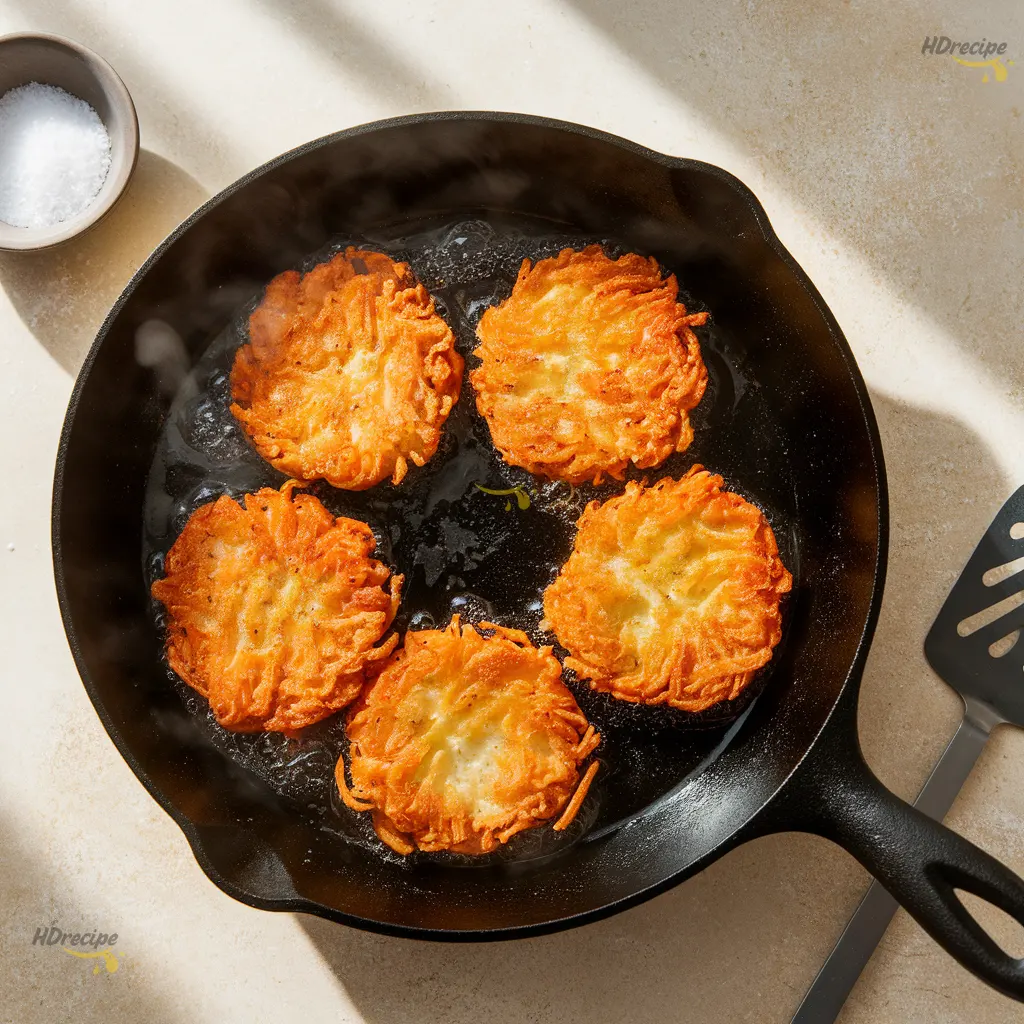
7 Flip time! Add your remaining 1–2 tablespoons of oil around (not on top of) the hash browns. Grab a wide spatula and flip each one with confidence, quick and smooth does it! Cook for another 4–5 minutes until the second side is just as beautiful and golden as the first. If the centers seem a bit soft while the edges are done, press down gently with your spatula to help the heat reach through.
8 Finish them off beautifully. Transfer your perfect Sweet Potato Hash Browns to a plate lined with paper towels to drain any excess oil. While they’re still hot, sprinkle them with a tiny pinch of flaky salt, it makes such a difference! Serve them right away while they’re at their crispiest, though honestly, they’re still delicious warm or even at room temperature.
Little Tweaks That Make a Big Difference
❃ The size of your shreds really matters. When your pieces are all different sizes, some burn while others stay undercooked. Try to keep everything about matchstick-size, roughly ⅛ inch thick. Whether you’re using a box grater or food processor, consistency is your friend here.
❃ Don’t skip squeezing out the moisture, even when you’re in a rush. That liquid you’re squeezing out? It’s full of sugars that make the hash browns stick to the pan and prevent that beautiful browning we’re after. Sometimes when my sweet potatoes are extra juicy, I actually squeeze twice with a fresh towel. Those extra 30 seconds make all the difference.
❃ Medium-high heat is the sweet spot. A lot of us cook on medium heat because we’re nervous about burning things (been there!), but that actually gives you greasy, pale hash browns. The higher heat is what creates that irresistible golden crust and amazing flavor. Just keep an eye on them and you’ll be fine.
❃ Want to add onions, garlic, or herbs? Here’s my trick: press them onto the already-shaped patties before putting them in the pan, rather than mixing them throughout. This keeps everything holding together nicely and prevents uneven cooking.
❃ Leftovers are a gift! Reheat them in a 400°F oven for 8–10 minutes instead of the microwave, it brings back that crispy texture. For freezing, lay them in a single layer on a baking sheet until solid, then pop them in a freezer bag. They’ll keep for 3 months and you can reheat them straight from frozen!
Nutrition Information (Per Hash Brown)
• Calories: 145
• Carbohydrates: 21g
• Protein: 2g
• Fat: 7g
• Fiber: 3g
• Sugar: 4g
• Sodium: 290mg
❃ Nutrition information is estimated and may vary based on specific ingredients and portion sizes.
Questions People Always Ask
➲ Can regular potatoes work instead of sweet potatoes?
Absolutely! The technique is almost the same, but russet potatoes have more starch naturally, so you’ll only need 1 tablespoon of cornstarch. The flavor will be more savory and less sweet, and the moisture-squeezing step becomes even more crucial since white potatoes release more liquid.
➲ Why do mine fall apart when flipping?
Oh, this is so frustrating when it happens! Usually it’s one of three things: not enough moisture squeezed out, not enough cornstarch to bind everything, or trying to flip before a proper crust forms. Make sure the bottom is deeply golden and lifts easily before flipping. Using a wider spatula that supports the whole hash brown helps too, those flimsy spatulas are the worst for this!
➲ How far ahead can these be made?
You can grate and squeeze the sweet potatoes up to 2 hours before cooking, just keep them in water with a squeeze of lemon juice, then drain and pat dry before using. Or cook them completely, refrigerate for up to 3 days, and reheat in a hot oven when you’re ready. They also freeze beautifully for up to 3 months!
➲ How can they be made extra crispy?
Love this question! Use slightly less cornstarch (about 1½ tablespoons) and press the patties a bit thinner, about ⅓ inch thick. Then cook them a little longer on slightly lower heat so more moisture evaporates. The centers won’t be quite as tender, but if you’re all about that crunch, it’s worth the trade-off!
A Quick Recap Before You Grab Your Spatula
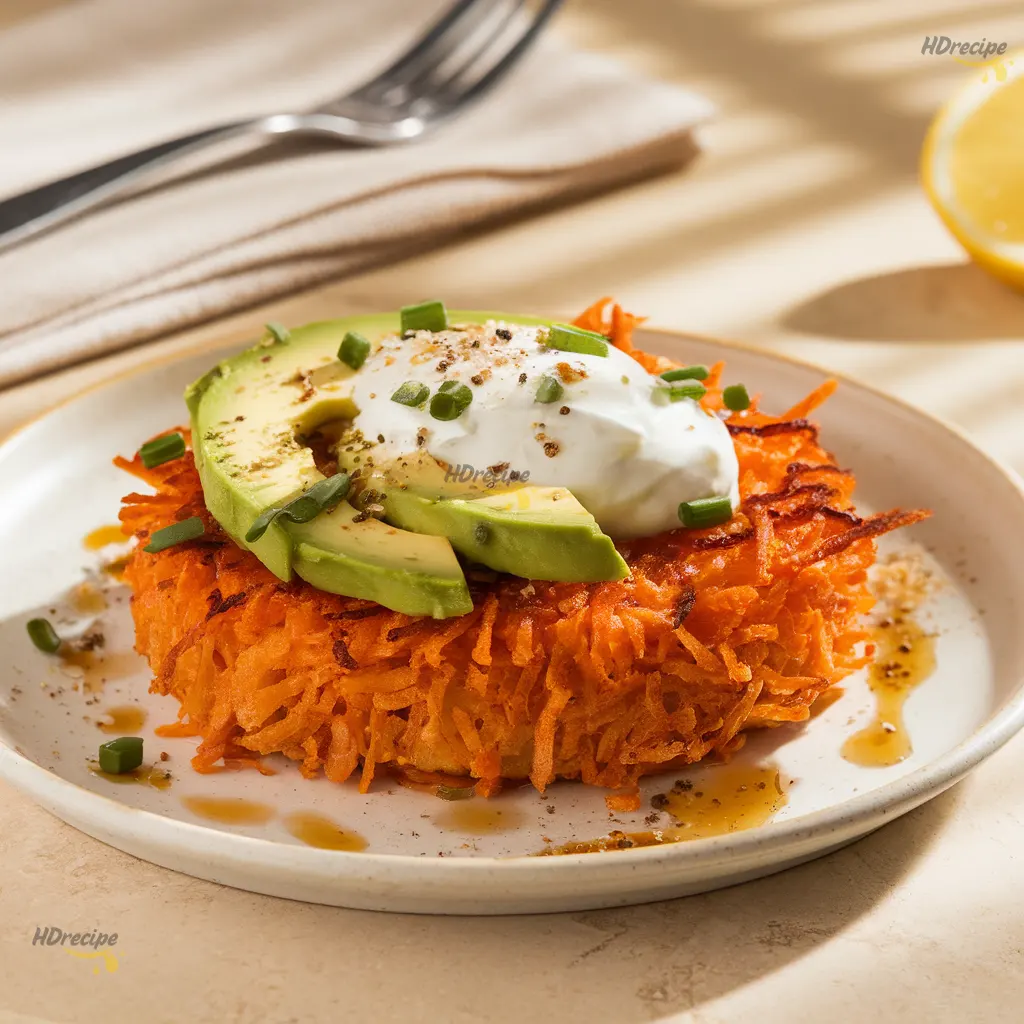
These Sweet Potato Hash Browns have honestly become one of those recipes that makes mornings feel less rushed and more special. There’s something so satisfying about making something this delicious with your own hands, especially when it’s this simple. The natural sweetness pairs beautifully with savory breakfast classics like fried eggs, crispy bacon, or a dollop of tangy sour cream.
If you’re loving these vibes, you might also want to try My:
❃ Egg Muffins with Spinach and Feta (Your New Morning Lifesaver!)
❃ Fluffy Japanese Souffle Pancakes in 30 Minutes (Jiggly & Easy)
❃ Moist Pumpkin Chocolate Chip Bread Recipe in 8 Easy Steps
❃ Easy Scrambled Pancakes Recipe: 15-Minute Healthy Breakfast
What do you think, are sweet potato hash browns your new breakfast favorite? Did you add any fun toppings or spices to make them your own? I’d love to hear how yours turned out, so drop a comment below and share your twist!
Don’t forget to pin this recipe on Pinterest to save it for later, and subscribe to the newsletter for more cozy, wholesome recipes sent straight to your inbox every week.
Happy cooking, friend!
Best Sweet Potato Hash Browns (Meal Prep Friendly!)
Ingredients
- 2 large sweet potatoes about 1¼ pounds
- 2 tablespoons cornstarch
- ½ teaspoon kosher salt
- ¼ teaspoon black pepper
- 3-4 tablespoons vegetable oil
Instructions
- Scrub sweet potatoes clean and pat dry. Using a box grater or food processor, shred into long strands using the large holes.
- Place grated sweet potato in a clean kitchen towel. Gather edges and twist tightly over the sink, squeezing firmly for 30-45 seconds to remove all excess moisture.
- Transfer squeezed sweet potato to a bowl. Add cornstarch, salt, and pepper. Toss gently with hands until evenly combined.
- Heat large skillet over medium-high heat. Add 2 tablespoons oil and swirl to coat.
- Form ½ cup portions into firm 4-inch patties. Place in hot oil, leaving space between each.
- Cook undisturbed for 5-6 minutes until golden-brown and edges release easily from pan.
- Add remaining oil around hash browns. Flip and cook 4-5 minutes more until second side is golden.
- Transfer to paper towel-lined plate. Sprinkle with flaky salt and serve immediately.
Notes
- Use potato starch or arrowroot powder instead of cornstarch
- Regular russet potatoes work, but reduce cornstarch to 1 tablespoon
- Add smoked paprika or garlic powder for extra flavor
- Refrigerate cooked hash browns in an airtight container for up to 3 days
- Freeze in a single layer on a baking sheet, then transfer to freezer bags for up to 3 months
- Reheat in 400°F oven for 8-10 minutes to restore crispiness (avoid microwave)


