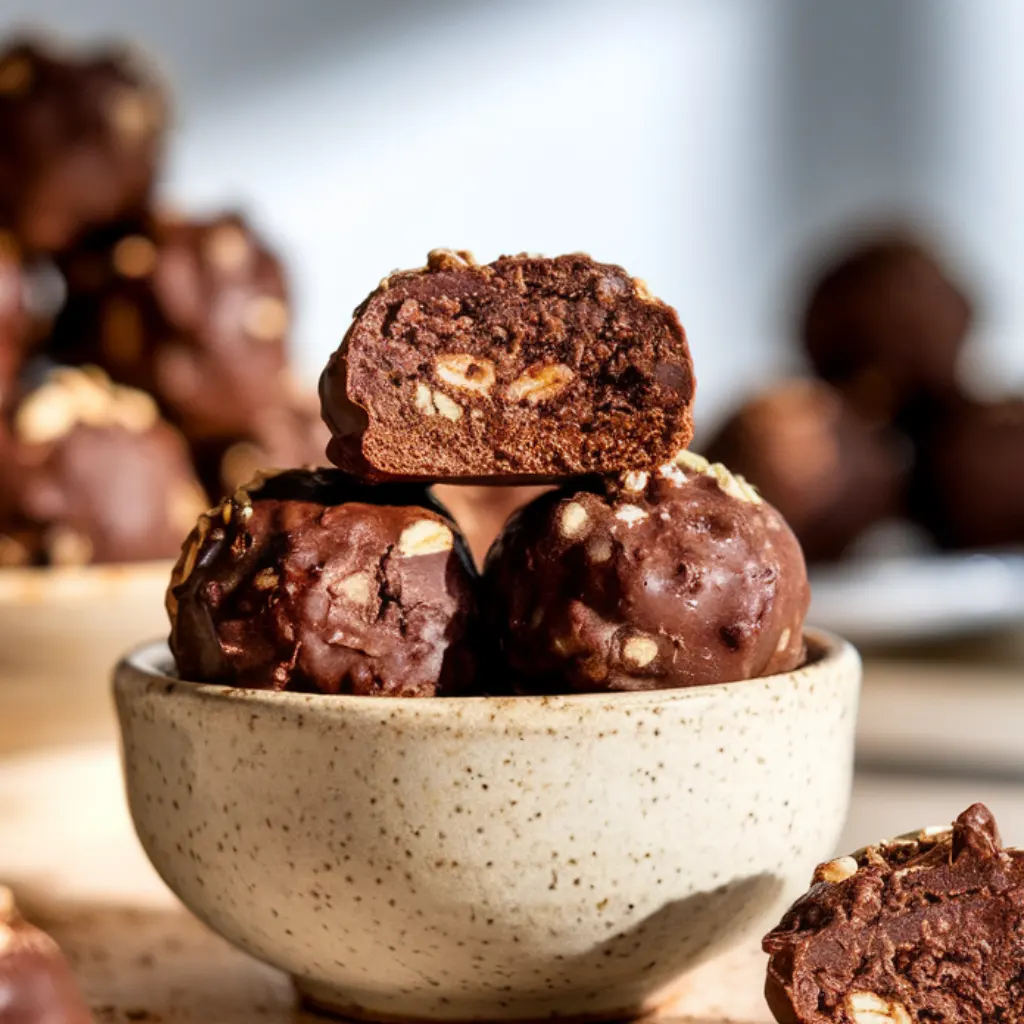
You know that moment around 3 p.m. when you’d sell your soul for something chocolate? These Gluten Free Brownie Protein Bites were born from exactly that feeling, except instead of reaching for the vending machine or diving face-first into a pint of ice cream, there’s now a better option sitting in the fridge.
What makes these different from every other “healthy” snack out there is simple: they actually taste like brownies. Not “healthy brownies” where you have to convince yourself they’re good. Real, honest-to-goodness fudgy chocolate flavor that happens to come with 6 grams of protein and won’t leave you crashed on the couch twenty minutes later.
*Before You Start: You’ll find more explanation here than a basic recipe. That’s intentional, the aim is to educate, not just instruct.
Meet Your New Go-To Snack When the Sweet Tooth Hits.
❃ Actually tastes like brownies: Not “healthy food pretending to be brownies,” but genuine chocolate satisfaction
❃ Ten minutes from start to storage container: No baking, no waiting, no complicated steps
❃ Naturally gluten-free: Made with almond flour and oats, so everyone at the table can enjoy them
❃ Two weeks of snacks in one batch: Make them once, grab them all week long
❃ Freezer-friendly for up to three months: Double the recipe and thank yourself later
❃ Flexible enough for picky eaters: Add chocolate chips for the kids, keep some plain for yourself
❃ Real energy that lasts: Healthy fats and protein mean no sugar crash at 4 p.m.
Grab These Simple Ingredients
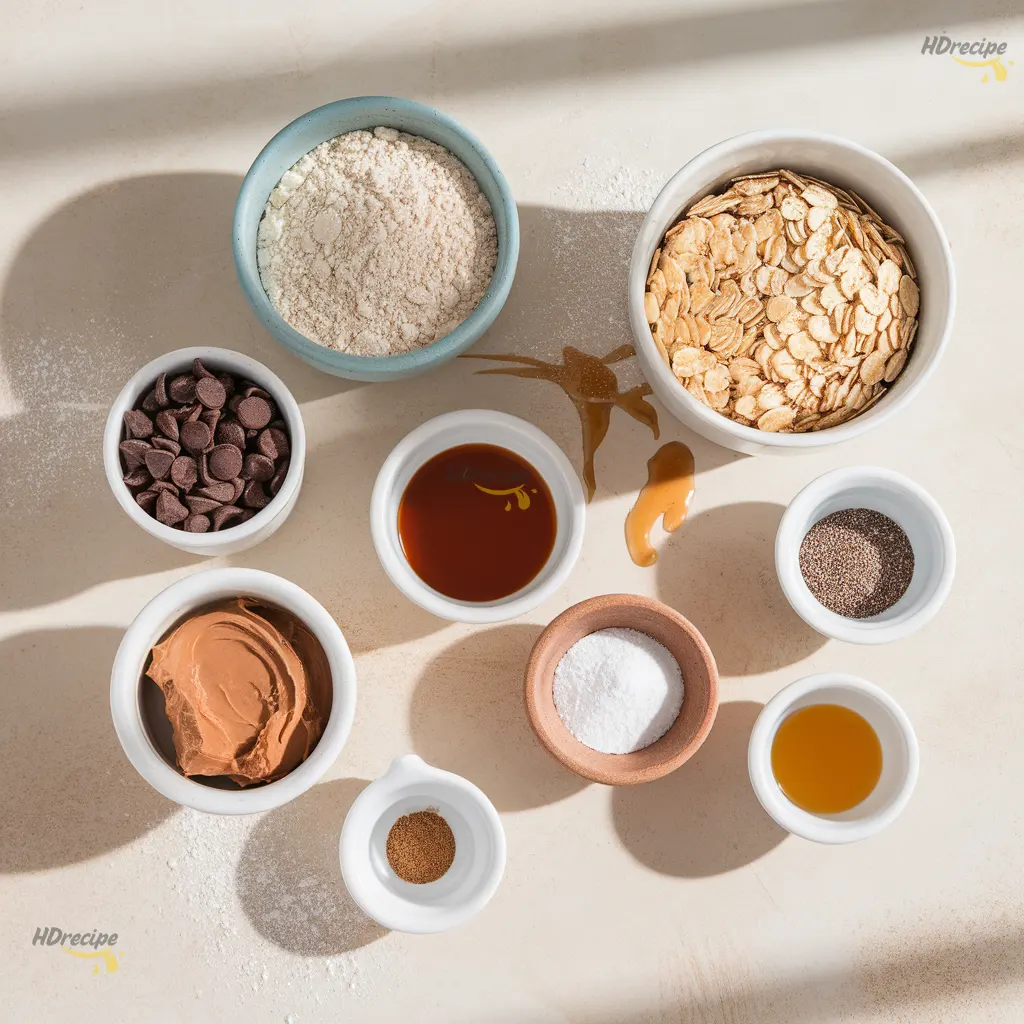
The Base (5 Simple Ingredients):
• 1½ cups almond flour. This creates that rich, fudgy texture while adding protein and healthy fats. Look for blanched almond flour (Bob’s Red Mill is great, or grab the Kirkland brand at Costco if you make these often). Don’t use almond meal with the skins on, it’ll make the texture gritty instead of smooth.
• 1 cup rolled oats. Regular old-fashioned oats work beautifully here. If you need certified gluten-free oats, grab Bob’s Red Mill or Trader Joe’s brand. Quick oats will work in a pinch, though the texture will be slightly softer.
• ⅓ cup cocoa powder. This is where the brownie magic happens. Use whatever you have, natural cocoa powder gives you that classic brownie taste, while Dutch-process cocoa is a bit deeper and less acidic. Both work wonderfully.
• ¼ cup pure maple syrup. Acts as both the sweetener and the “glue” that holds everything together. Real maple syrup, not pancake syrup. Honey works as a swap, but it makes the bites a little stickier to roll. Agave is another option if that’s what’s in your pantry.
• 2 tablespoons almond butter. The secret binding ingredient. Use the creamy kind that’s well-stirred, not the natural stuff with oil floating on top. Peanut butter, cashew butter, or sunflower seed butter all work if you need to swap it out.
Optional Mix-Ins (totally up to you):
• 2 tablespoons mini chocolate chips for extra indulgence
• 1 tablespoon chia seeds for fiber and a little crunch
• ½ teaspoon vanilla extract to deepen the chocolate flavor
• A pinch of sea salt to make everything pop
Quick Storage Tip: Keep your almond flour in the fridge or freezer if you don’t bake with it regularly. The natural oils can go rancid sitting in the pantry for months, and nobody wants that.
Let’s Get Rolling
1 Set up your food processor and get organized.
Add the almond flour, rolled oats, and cocoa powder to your food processor. Having everything measured before you start makes this so much smoother. If your oats are particularly large and chunky, pulse them alone for about 15 seconds first, it helps create a more uniform texture in the final bites.
2 Pulse the dry ingredients together.
Process everything for about 20 seconds until it looks evenly mixed and the oats have broken down a bit. You’re not making flour here, just bringing everything together. Some small oat pieces should still be visible, which gives the bites that nice texture.
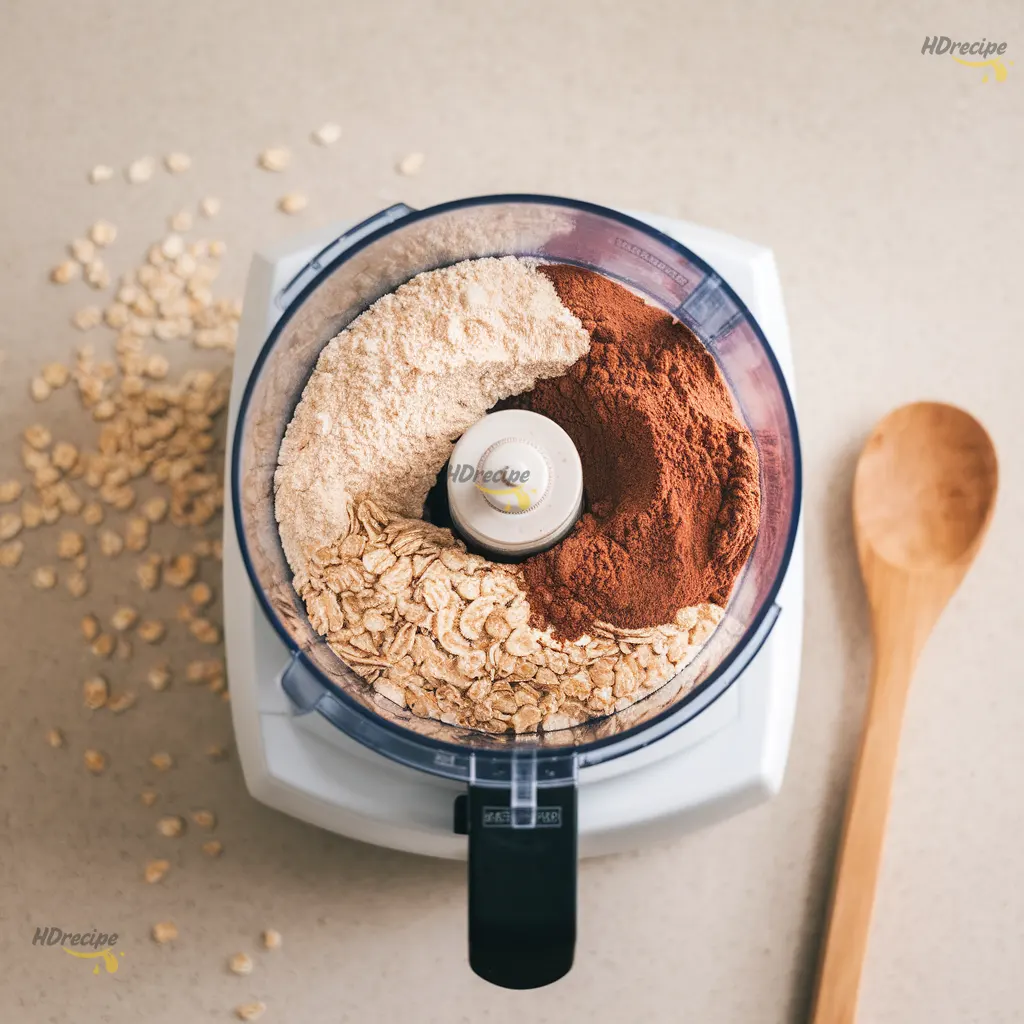
3 Add your wet ingredients.
Pour in the maple syrup and drop in the almond butter. If your almond butter is super thick or cold, microwave it for 10-15 seconds to soften it up first. This helps it blend in smoothly instead of creating clumps.
4 Process until you have a sticky dough.
Run the food processor for 30-45 seconds, stopping halfway to scrape down the sides. The mixture should stick together when you squeeze a bit in your hand. If it’s too crumbly and falls apart, add another tablespoon of maple syrup. If it’s so sticky you can barely handle it, add 2 more tablespoons of almond flour and pulse again.
5 Do the squeeze test.
Grab a small amount and roll it between your palms. It should form a neat ball that holds together without crumbling or sticking to your hands like crazy. This is your checkpoint, if it works, you’re golden. If not, adjust with more liquid or flour as needed.
6 Roll into bite-sized pieces.
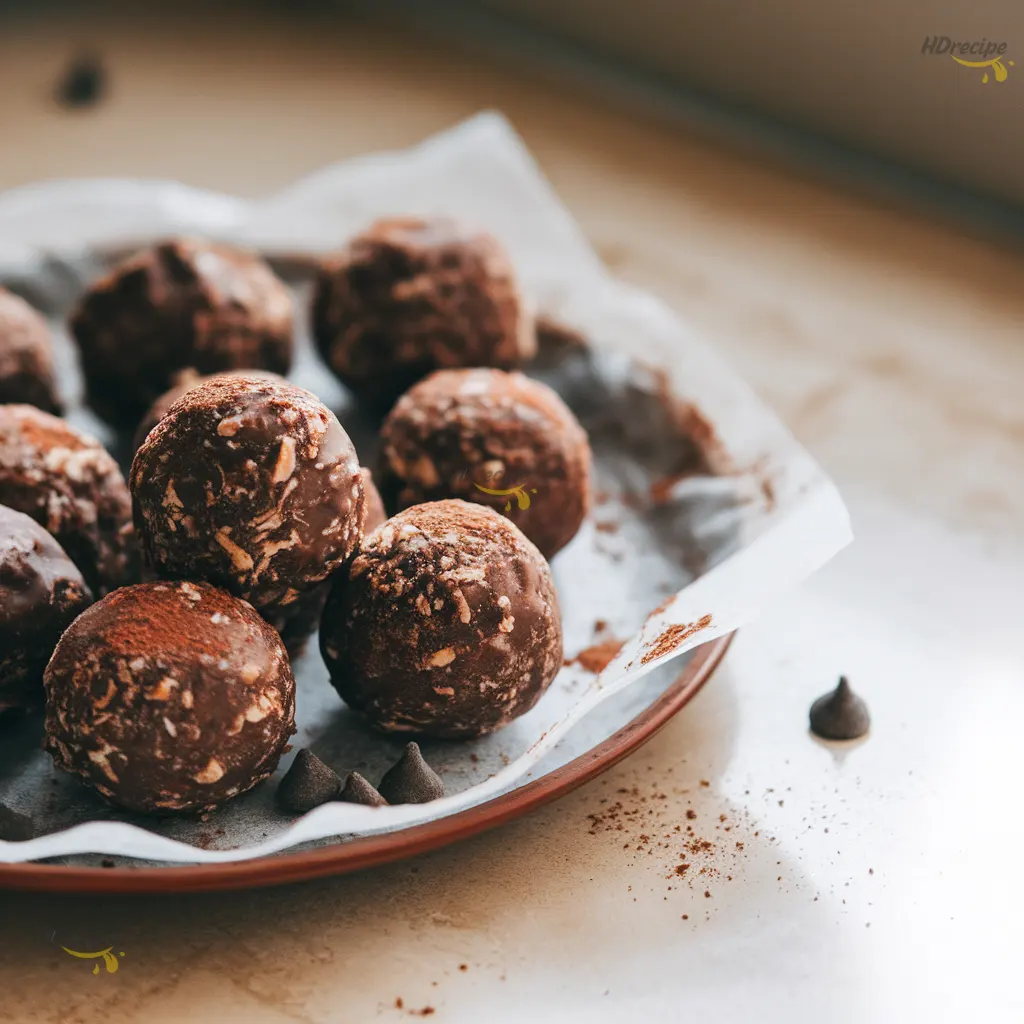
Use a tablespoon or small cookie scoop to portion out 12-14 even pieces. This keeps them consistent, which matters for freezing and thawing later. Roll each portion between your palms with gentle pressure. If the dough sticks to your hands, dampen them with just a tiny bit of water, seriously, just a drop or two makes all the difference.
7 Let them firm up in the fridge.
Pop the rolled bites on a plate and refrigerate for at least 30 minutes. You could technically eat them right away, but they’re so much better after chilling. The texture firms up and the flavors come together beautifully. If you’re impatient (no judgment here), stick them in the freezer for 15 minutes instead.
8 Store them properly.
Transfer your chilled bites to an airtight container. If you’re stacking them, put a piece of parchment paper between layers so they don’t stick together. They’ll keep in the fridge for two weeks or in the freezer for up to three months. Frozen ones thaw in about 10 minutes on the counter, or you can eat them straight from the freezer for a firmer, truffle-like treat.
Tiny Details That Make a Big Difference
❃ Temperature is your friend. If the mixture gets too soft and sticky while you’re working with it, just pop the whole bowl in the fridge for 10 minutes. This is especially helpful if you’re making these in summer when your kitchen feels like a sauna.
❃ Make a double batch. Seriously, just do it. These freeze so well, and future you will be incredibly grateful when you need a quick snack and don’t have time to make more. Freeze them in a single layer first, then transfer to a bag once they’re solid.
❃ Adjust the sweetness to your taste. If you prefer less sweet snacks, start with 3 tablespoons of maple syrup instead of the full ¼ cup. The almond flour has a natural sweetness that helps balance the cocoa, so you might not need as much as you think.
❃ Need them nut-free? Swap the almond flour for sunflower seed flour (same amount) and use sunflower seed butter instead of almond butter. Fair warning: they might turn slightly greenish from a natural chemical reaction. It’s completely harmless and doesn’t affect the taste at all, just looks a little funky.
❃ Boost the protein even more. Replace ¼ cup of the almond flour with chocolate protein powder to bump each bite up to about 8 grams of protein. If your protein powder is already chocolate-flavored, reduce the cocoa powder to 3 tablespoons so it’s not too intense.
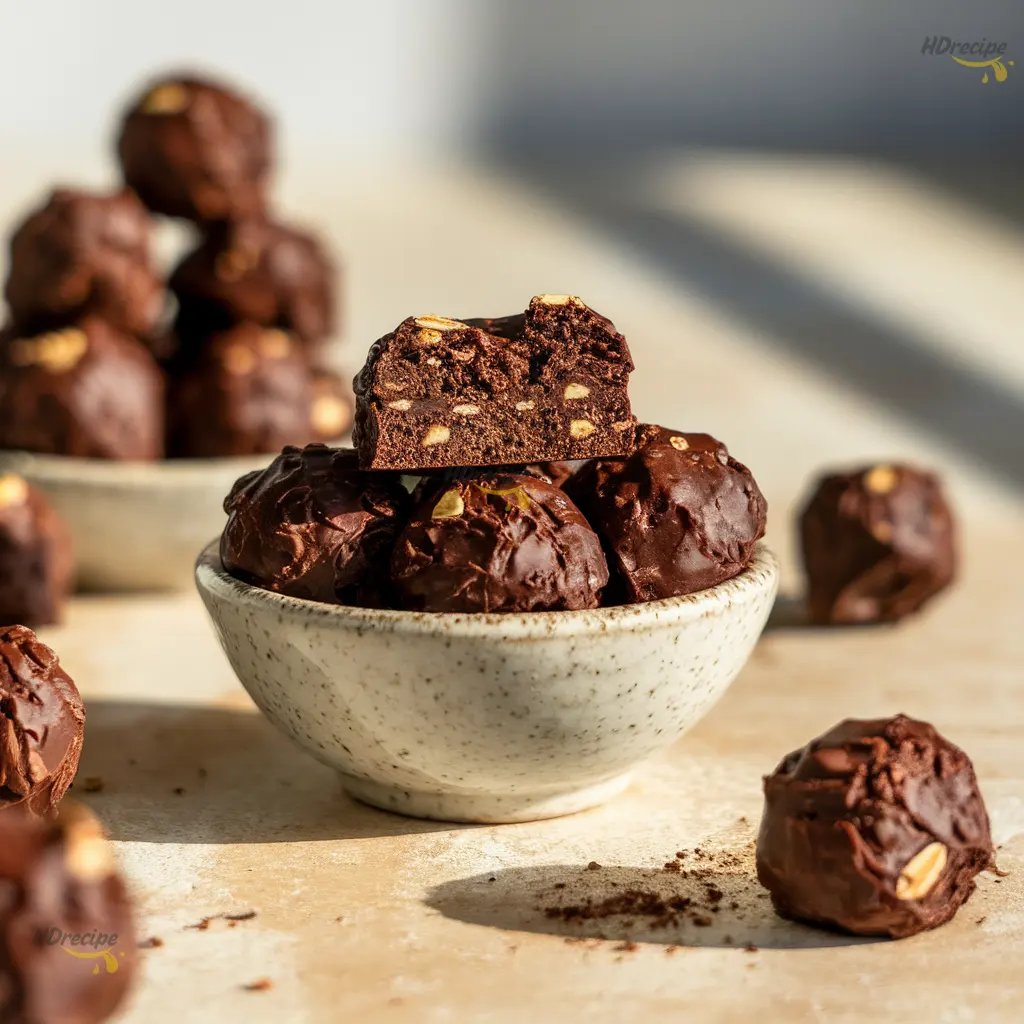
Nutrition Information (Per Bite)
Serving size: 1 bite (recipe makes 12–14 bites)
• Calories: 110
• Carbohydrates: 10g
• Protein: 6g
• • Fat: 7g
• Fiber: 2g
• Sugar: 4g
• Sodium: 5mg
❃ Nutrition information is estimated and may vary based on specific brands and any add-ins you choose.
Got Questions? Let’s Clear Them Up Fast.
➲ What if the mixture won’t stick together?
This usually means it’s too dry. Add another tablespoon of almond butter or maple syrup and process again. The moisture content in almond butter can vary by brand, and even the humidity in your kitchen affects how much liquid you need. Keep adding small amounts until the mixture holds together when squeezed.
➲ Can these be made without a food processor?
Yes, though the texture won’t be quite as smooth. Mix the oats and cocoa in a large bowl, then stir in very soft almond butter and maple syrup until everything’s combined. You’ll get a chunkier texture, but they’ll still taste great. A high-powered blender also works, just work in smaller batches and use the tamper to keep things moving.
➲ How do these compare to store-bought protein balls?
Most commercial options are loaded with 8–12 grams of added sugar and use protein isolates that can taste chalky. These Gluten Free Brownie Protein Bites stick to whole food ingredients with only natural sugars from maple syrup, about 4 grams per bite. The protein comes from almond flour instead of isolated powders, which makes them easier on your stomach and way better tasting.
➲ Can other flours work instead of almond flour?
Oat flour will work but creates a denser, less fudgy texture. Use ¾ cup oat flour to replace 1 cup almond flour since it absorbs differently. Coconut flour doesn’t work here, it’s way too absorbent and will turn these into dry, crumbly disasters. Your best alternative is cashew flour if you want to maintain that rich, fudgy texture.
➲ How long do these really last?
Two weeks in the fridge, easy. Three months in the freezer without any loss of quality. The key is storing them in an airtight container so they don’t pick up other flavors or dry out. Honestly though, they usually disappear way before the two-week mark in our house.
And That’s How You Make Snack Time Worth It.
These Gluten Free Brownie Protein Bites have become my Sunday afternoon ritual. There’s something satisfying about knowing that ten minutes of effort means two weeks of having something good waiting in the fridge, something that tastes like dessert but won’t leave you feeling guilty or sluggish an hour later.
The beauty of this recipe is how forgiving it is. Once you get the basic ratio down, you can play around with it endlessly. Swap the cocoa for matcha powder and add white chocolate chips. Mix in dried cherries. Roll them in shredded coconut. Make them your own.
If you’re loving the make-ahead snack vibes, you might also want to check out My:
❃ Pumpkin Cheesecake Balls! The Perfect Fall Treat
❃ Salted Caramel Truffles (Silky, Rich & 5-Ingredient Easy)
❃ Healthy Dark Chocolate Energy Balls Recipe (Just 5 Ingredients)
❃ Homemade Cinnamon Roll Bites: The Lazy Baker’s Secret Weapon
Tried these yet? I’d love to hear how they turned out! Leave a comment below and tell me if you tried any fun twists or flavor combos, your ideas always inspire others.
If you’re new here, don’t miss the free weekly meal prep guide that makes weeknight cooking a breeze.
And before you go, save this recipe to Pinterest so it’s easy to find later, or share it with a friend who’s always on the hunt for healthy snack ideas. Happy snacking!
Healthy Gluten Free Brownie Protein Bites
Ingredients
- 1½ cups almond flour
- 1 cup rolled oats use certified gluten-free if needed
- ⅓ cup cocoa powder
- ¼ cup pure maple syrup
- 2 tablespoons almond butter creamy, well-stirred
- 2 tablespoons mini chocolate chips optional
- ½ teaspoon vanilla extract optional
- Pinch of sea salt optional
Instructions
- Add almond flour, rolled oats, and cocoa powder to a food processor. Pulse for 15-20 seconds until combined and oats are slightly broken down.
- Add maple syrup and almond butter. Process for 30-45 seconds, stopping to scrape down sides halfway through. Mixture should stick together when squeezed.
- Test the texture by rolling a small amount between your palms. If too crumbly, add 1 tablespoon more maple syrup. If too sticky, add 2 tablespoons almond flour.
- Use a tablespoon to portion mixture into 12-14 pieces. Roll each portion between palms into smooth balls.
- Place on a plate and refrigerate for 30 minutes to firm up. Store in an airtight container in the fridge for up to 2 weeks or freeze for up to 3 months.
Notes
- Use peanut butter, cashew butter, or sunflower seed butter instead of almond butter
- Swap maple syrup for honey (makes bites slightly stickier)
- For nut-free: replace almond flour with sunflower seed flour and use sunflower seed butter
- Keep in an airtight container in the refrigerator for up to 2 weeks
- Freeze in a single layer, then transfer to a freezer bag for up to 3 months
- Frozen bites thaw in 10 minutes at room temperature
- Enjoy straight from the fridge for a fudgy texture
- Eat frozen for a firmer, truffle-like consistency
- Pack in lunch boxes or gym bags for convenient snacks
